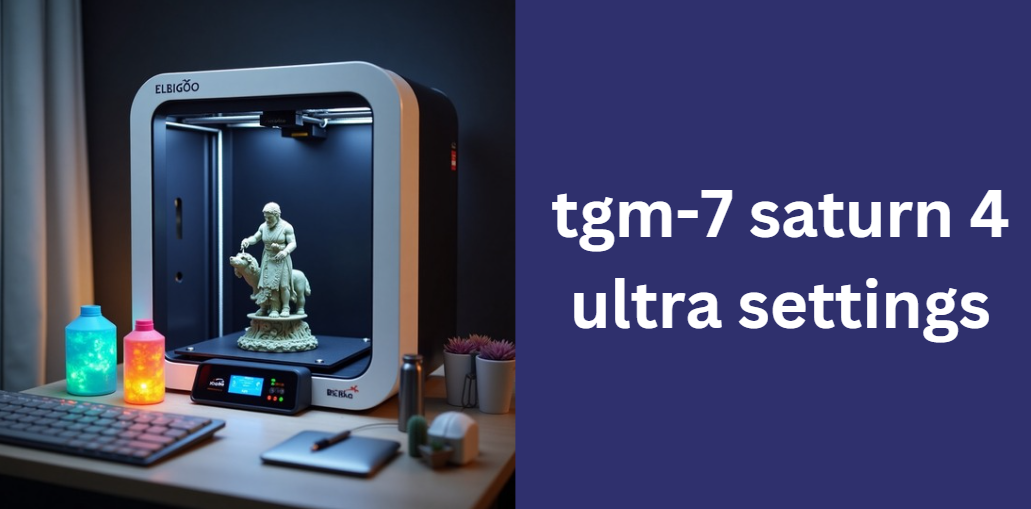
Definitive Guide to tgm-7 saturn 4 ultra settings
Optimizing your 3D printing setup is critical when striving for the best print quality and durability. Whether you’re a seasoned maker or a beginner, this guide is designed to walk you through everything you need to know about tgm-7 saturn 4 ultra settings.
We begin by discussing the importance of proper calibration, then move into an in-depth explanation of the resin properties, printer specifics, and finally, a step-by-step walkthrough of the ideal settings for your printer. By following this guide, you will be empowered to achieve exceptional prints that stand up to both aesthetic and functional demands.
Understanding TGM-7 Resin
TGM-7 resin, developed by AmeraLabs, is specifically formulated for producing durable, high-detail prints, particularly suited for tabletop gaming miniatures. This resin strikes an ideal balance between flexibility and stiffness, ensuring that your models can withstand the rigors of frequent handling.
In this section, we delve into the key properties of TGM-7 resin:
- Mechanical Strength: With a tensile strength ranging between 35-40 MPa and an elongation at break of approximately 42-52%, TGM-7 offers durability without sacrificing detail.
- Viscosity and Curing: Its viscosity of 300-400 cPs at 25°C and rapid curing properties make it a popular choice for both beginners and advanced users.
- Surface Quality: The resin provides a hard, non-sticky, and paintable surface that is perfect for detailed miniatures.
- Color Variants: Available in multiple shades—including grey, clear, red, yellow, and blue—the resin allows for creative customization without changing the underlying settings.
Below is a summary table of the resin’s key technical properties:
| Property | Value |
|---|---|
| Tensile Strength | 35-40 MPa |
| Elongation at Break | 42-52% |
| Viscosity (at 25°C) | 300-400 cPs |
| Surface Hardness | 75-85 Shore D |
These properties contribute to the overall performance and durability of prints made with TGM-7 resin, making it a standout material in the market.
Overview of the Elegoo Saturn 4 Ultra
The Elegoo Saturn 4 Ultra is a high-performance resin 3D printer that is celebrated for its precision and speed. With its large build volume, high-resolution LCD screen, and advanced mechanics, it is an ideal partner for TGM-7 resin. The printer’s capabilities allow for high-detail prints that capture intricate designs without compromising on structural integrity.
The Saturn 4 Ultra distinguishes itself from other models—like the Mars 5 Ultra—by offering enhanced exposure control and faster print speeds. This makes it especially effective when paired with tgm-7 saturn 4 ultra settings, ensuring that every layer of resin is cured with optimum efficiency.
Why Optimized Settings Matter
Achieving the best print quality is not solely dependent on hardware or resin quality; it also hinges on how well you optimize your printing parameters. Fine-tuning exposure times, layer transitions, and lift speeds can dramatically reduce print failures and enhance the adhesion of your prints. Optimized settings ensure that every print is structurally sound, with precise detail retention and a smooth finish.
For example, a longer bottom layer exposure helps secure the first few layers firmly to the build platform, while shorter exposure times for the regular layers preserve fine details. This balance is at the heart of tgm-7 saturn 4 ultra settings and is essential for obtaining prints that are both beautiful and robust.
Preparing Your Printer and Workspace
Before diving into the settings, it is essential to prepare your printer and workspace for optimal performance. Ensuring that your build platform is level, your printer is clean, and your environment is stable in terms of temperature and humidity will set the stage for successful prints.
Imagine a checklist similar to the following:
- Printer Calibration: Make sure the build plate is level and that the LCD screen is properly aligned.
- Cleaning and Maintenance: Remove any residual resin from previous prints and check that the vat is free of debris.
- Environmental Setup: Work in a well-ventilated area with stable ambient temperatures, as fluctuations can affect curing times.
Following these preparatory steps will help minimize potential issues and create a solid foundation for using the ideal tgm-7 saturn 4 ultra settings.
Detailed tgm-7 saturn 4 ultra settings
In this core section, we break down the recommended settings into specific categories. Each aspect is explained in detail, with practical advice and examples to help you fine-tune your printing process.
Exposure Settings
When it comes to exposure settings, balance is key. For regular layers, a shorter exposure time (typically around 1–2 seconds) is often sufficient. However, the bottom layers require a significantly longer exposure—usually between 15–25 seconds—to ensure proper adhesion to the build plate. This difference is crucial for establishing a robust base for the print.
Below is a sample table summarizing the recommended exposure settings:
| Layer Type | Recommended Exposure Time |
|---|---|
| Bottom Layers | 15-25 seconds |
| Regular Layers | 1-2 seconds |
Implementing these settings accurately will help you achieve consistent layer curing and prevent issues like print detachment or warping.
Lift Speeds and Layer Transitions
Another important factor is the lift speed and the transition between layers. Slower speeds during the initial bottom layers—around 5 mm/min—allow the resin to cure properly without introducing excessive stress. Once the base is secure, increasing the lift speed to between 40-60 mm/min for the regular layers can significantly speed up the process without compromising quality.
A simple list summarizing these steps might look like this:
- Initial Bottom Layers: Lift at 5 mm/min to ensure strong adhesion.
- Regular Layers: Increase lift speed to 40-60 mm/min to improve overall printing efficiency.
By adjusting the lift speeds appropriately, you can reduce the risk of print failures caused by suction forces and ensure smoother layer transitions throughout the print.
Slicer Software Settings
Modern slicer software, such as Lychee or ChiTuBox, provides extensive customization options that are crucial for optimizing your tgm-7 saturn 4 ultra settings. In the slicer, you can import manufacturer-recommended profiles and then fine-tune the settings according to your specific requirements. Key parameters include:
- Exposure Time: Input the recommended times for bottom and regular layers.
- Layer Count for Bottom Layers: Configure the number of layers that receive the prolonged exposure.
- Lift Speed and Retract Distance: Adjust these settings based on your printer’s mechanical behavior.
Here’s a simplified table that outlines typical slicer settings:
| Slicer Parameter | Recommended Value |
|---|---|
| Bottom Layer Exposure | 15-25 seconds |
| Regular Layer Exposure | 1-2 seconds |
| Number of Bottom Layers | 4-8 layers |
| Bottom Lift Speed | 5 mm/min |
| Regular Lift Speed | 40-60 mm/min |
Using these slicer settings as a starting point can help you dial in your printer’s performance quickly and efficiently.
Calibration and Test Prints
Once you’ve set up your printer with the ideal tgm-7 saturn 4 ultra settings, it is vital to perform calibration tests. Calibration prints help you evaluate the impact of your chosen settings and make any necessary adjustments. During calibration, closely examine the adhesion of the bottom layers, the clarity of fine details, and the overall finish of the print.
A typical calibration process might involve:
- Printing a standardized test model.
- Evaluating the printed model for imperfections.
- Adjusting exposure and lift speeds accordingly until the print meets the desired quality.
Advanced Optimization Techniques
For experienced users, further tweaking can lead to even better results. Advanced techniques include:
- Fine-Tuning Exposure for Intricate Models: Adjust exposure times for models with high-detail areas.
- Color-Specific Adjustments: Different color variants of TGM-7 resin (clear, grey, red, etc.) might require subtle changes in settings.
- Troubleshooting Common Issues: Identify and resolve problems such as over-curing or insufficient adhesion by gradually adjusting the settings.
These advanced methods help you maximize the performance of tgm-7 saturn 4 ultra settings, ensuring that every print is optimized for quality and durability.
Post-Processing and Finishing
Achieving a great print doesn’t end when the printer stops. Post-processing is essential for ensuring that your final product meets your expectations. After printing, thoroughly clean the model in isopropyl alcohol to remove any uncured resin. Then, proceed with post-curing under UV light until the surface is fully hardened and non-tacky.
For optimal finishing:
- Sand or polish the model to achieve a smooth surface.
- Apply primer or paint if additional detail enhancement is required.
- Consider using specialized curing stations for consistent results.
Proper post-processing not only enhances the visual appeal but also improves the mechanical properties of your prints.
Community Insights and Case Studies
The resin printing community has shared a wealth of knowledge about tgm-7 saturn 4 ultra settings through forums, social media, and video tutorials. Many users have documented their trials and successes, offering real-world examples and troubleshooting tips that are invaluable for fine-tuning your own setup. Case studies often reveal common challenges—such as inconsistent adhesion or detail loss—and provide effective solutions that have been tested by the community.
For instance, one user’s calibration journey demonstrated that slight increases in bottom exposure time dramatically improved adhesion, while another’s experience highlighted the benefits of a customized slicer profile. Such insights reinforce the importance of continuous testing and adjustment.
Frequently Asked Questions (FAQs)
How can I identify and correct misalignment issues during calibration?
When your calibration model reveals misaligned details, start by verifying that your build platform is perfectly leveled. Next, check if the resin vat is seated correctly and free from debris. Small misalignments can also occur if the printer’s firmware isn’t updated; ensuring that your device has the latest software can resolve many such issues. Experiment with slightly adjusting the exposure time for the affected areas, and document your changes to track improvements.
Are firmware updates necessary to optimize the tgm-7 saturn 4 ultra settings?
Yes, firmware updates can play an important role in improving the overall performance of your printer. Updated firmware may include refined algorithms for layer alignment, exposure control, and lift speed management. Regularly check the manufacturer’s website for any available updates to ensure your Saturn 4 Ultra is operating at its best, which, in turn, can enhance the performance of your tgm-7 saturn 4 ultra settings.
What methods can I use to quantitatively track performance improvements after adjusting the settings?
To track improvements, consider using both qualitative observations and quantitative metrics. Document key performance indicators such as layer adhesion, detail accuracy, and overall print strength after each test print. You can create a simple log in a spreadsheet, noting specific changes and their outcomes. Photograph your prints alongside a calibration model for side-by-side comparisons over time. This systematic approach will help pinpoint which adjustments yield the best results for your tgm-7 saturn 4 ultra settings.
Which additional safety measures should I consider when handling TGM-7 resin?
Apart from the basic safety precautions discussed, it is crucial to work in a well-ventilated environment and wear appropriate personal protective equipment, such as gloves and safety glasses, during resin handling. Consider investing in a dedicated air purifier to reduce airborne particles and resin fumes. Additionally, keep a spill kit nearby and ensure that your workspace is equipped with proper disposal methods for resin waste, thereby minimizing any potential health hazards.
Can I back up and restore my custom slicer profiles for future use with tgm-7 saturn 4 ultra settings?
Absolutely. Most modern slicer software offers a feature to export and import custom profiles. Once you have dialed in your ideal settings, save the profile as a backup file. This will allow you to easily restore your configuration if you need to reinstall your software or switch between different printers. Maintaining a collection of profiles for different resin types or print models can be invaluable, especially when experimenting with new tweaks or troubleshooting issues.
Appendices and Additional Resources
For those who wish to delve deeper, the appendices include downloadable calibration models, detailed technical datasheets, and links to video tutorials. The following table summarizes some valuable resources:
| Resource | Description | Link |
|---|---|---|
| Calibration Model Download | A standardized model to test your printer settings | Download PDF |
| Technical Datasheet | In-depth resin properties and mechanical data | View Datasheet |
| Video Tutorial on Settings | Step-by-step guide for adjusting printer settings | Watch on YouTube |
| Community Forum | Share experiences and get advice from fellow users | Visit Forum |
These resources provide additional support to ensure that you have all the information necessary to master the settings for your printer.
Conclusion and Final Recommendations
In summary, this guide has provided a detailed exploration of the ideal tgm-7 saturn 4 ultra settings for achieving superior print quality with your Elegoo Saturn 4 Ultra.
By understanding the properties of TGM-7 resin, preparing your workspace, and carefully calibrating your printer’s exposure and lift settings, you can ensure that every print is precise, durable, and visually appealing. Advanced optimization techniques and community insights further enhance the overall process, making it a comprehensive resource for any resin printing enthusiast.
Recommended posts
Pups Save a Mighty Eel Transcript – Full Episode Breakdown & Analysis
How to Cancel Chuze Fitness Membership: A Complete Guide | 如何注销Chuze Fitness
How Much is Zupfadtazak: A Comprehensive Pricing Guide
How to Keep a Barely Legal Delinquent Teen Busy: A Comprehensive Guide
Abithelp Tablets: The Ultimate Guide to Boosting Health & Well-Being